A solution for stripped dental implant screws
With so many different implant systems and restorative components available, the use of correct drivers when seating abutments becomes critical to avoid the risk of stripped dental implant screws and complicating easy retrieval of restorative components. In this case study, Daniel D. Gober, DDS, and Markus L. Weitz, DDS, explain how to remove a stripped, multiunit abutment screw with a creative, yet simple, technique.
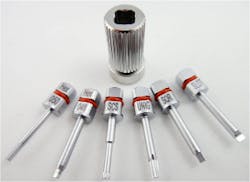
With so many different dental implant systems and restorative components available today, it is important to use the correct driver when seating abutments. Using the wrong driver risks "stripping" the dental implant screw and complicates the ability to retrieve restorative components with ease. Figure 1 demonstrates the variety of prosthetic screwdrivers available.
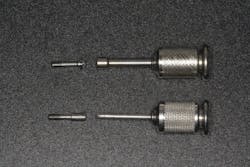
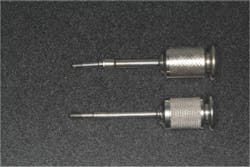
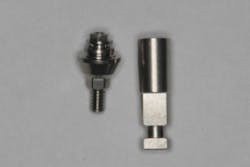
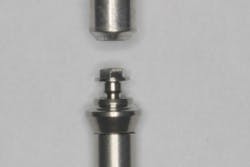
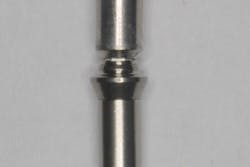
It is important to note the difference between single-unit "prosthetic" screws and multiunit abutment screws. Unlike single-unit abutment screws, which are engaged internally and situated within the channel of the abutment, the head of the abutment screw for a multiunit abutment is situated above the abutment and is engaged "externally" with a specific driver (figures 2 and 3). Once the multiunit abutment is in place, the prosthesis is screwed into the multiunit abutment instead of into the implant.
The following case report describes a creative, yet simple, technique to remove a stripped, multiunit abutment screw.
The problem
A 67-year-old patient had seven implants placed for a full-arch, implant-supported prosthesis. The restorative dentist elected to place multiunit abutments on all of the implants in order to facilitate a screw-retained prosthesis at the tissue level. Figures 4 through 6 illustrate the components of a multiunit abutment.
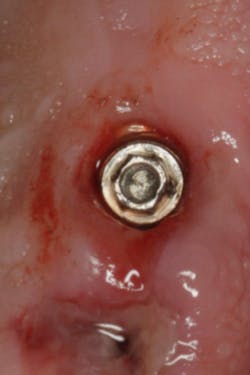
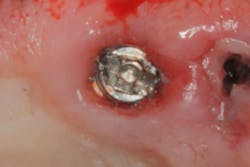
As the dentist was trying to remove one of the abutments, he realized that he was no longer able to engage the screw and, therefore, could not retrieve the abutment. The patient was referred to our office to aid in removing the multiunit abutment. A close inspection of the multiunit abutment revealed that the screw had become deformed and no longer had a hexagonal shape; the screw was "stripped" (figure 7). Because the hexagonal shape was deformed, the driver could not engage the screw.
The solution
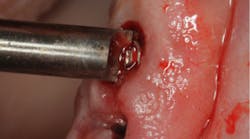
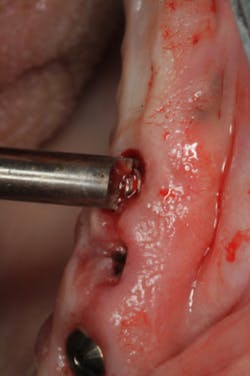
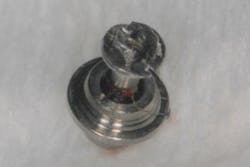
A carbide bur was used to create a "slot" within the screw (figure 8). A "slot" driver was then placed into the slot to reverse the screw out of the abutment (figure 9). The abutment was then removed and could be used again with a new abutment screw (figure 10).
Note: This technique can also be employed when a healing abutment's internal (female) thread becomes stripped.
Take-home message
Before beginning to place or remove abutments, make sure you know the exact specifications of the abutment screws and their corresponding drivers. Otherwise, you may risk stripping the dental implant screws. Should the worst happen, the above technique explains how to remove a stripped screw.
